Intro
There are days when I crave something sweet, creamy, and indulgent—but I also want it to feel just a little bit nourishing. That’s exactly how this Cream Cheese Oreo Protein Balls Recipe came into my kitchen and completely won me over.
As a home cook who loves experimenting with flavors and textures, I’ve always believed desserts can be both comforting and a little mindful at the same time.
The first time I made these, I honestly wasn’t expecting much. Oreos, cream cheese, and protein powder? It sounded like an odd trio. But the moment I rolled that first ball and took a bite, I knew I had something special.
The richness of cream cheese blends beautifully with the chocolatey crunch of Oreos, and the added protein gives it a satisfying, slightly dense texture that feels more filling than your average sweet treat.
These little bites are perfect for busy afternoons, post-workout snacks, or even when you just want a quick dessert without turning on the oven. And let me tell you—once you make them, they won’t last long in your fridge.
What is Cream Cheese Oreo Protein Balls Recipe?
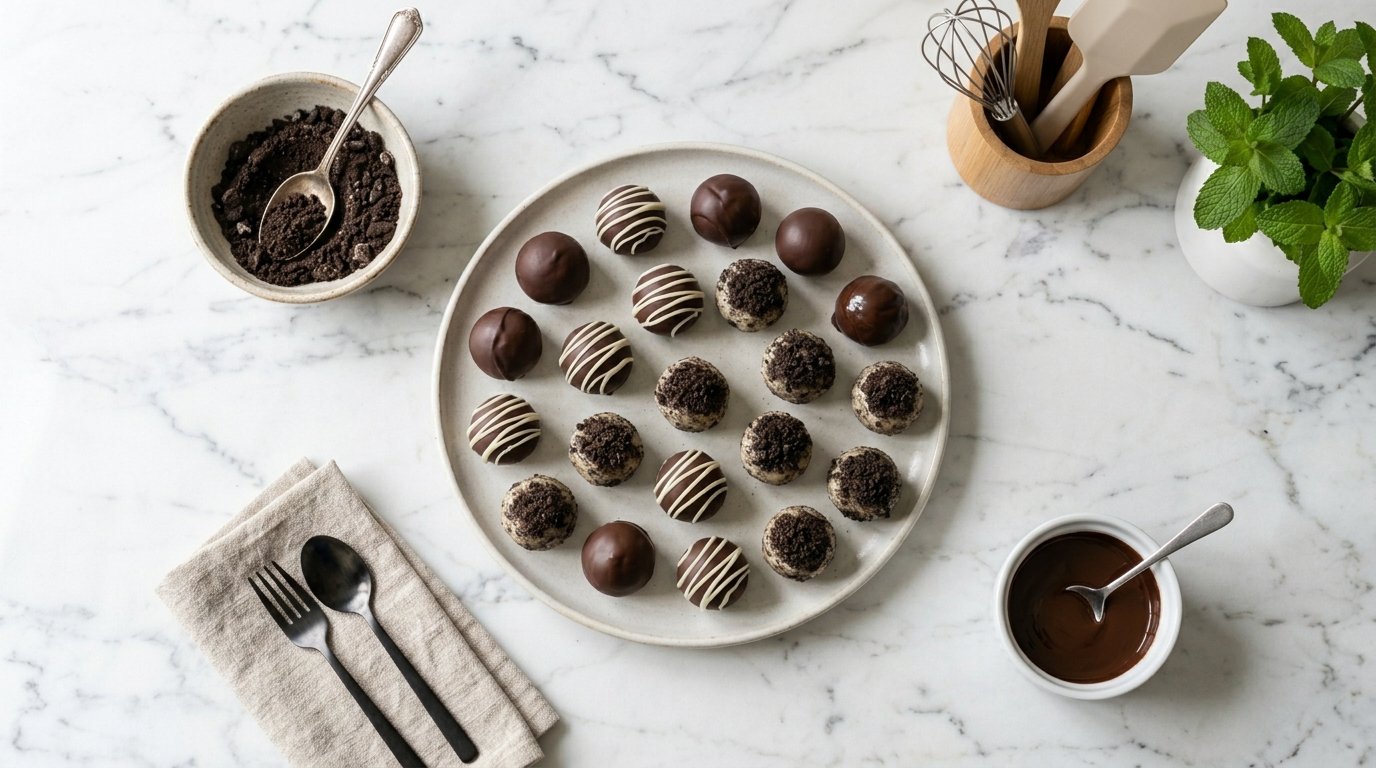
At its heart, this recipe is a no-bake dessert made by combining crushed Oreo cookies with soft cream cheese and a boost of protein powder. The mixture is then shaped into small balls and often coated with chocolate, cocoa, or crushed cookies.
Think of it as a cross between a truffle and an energy bite. The flavor is deeply chocolatey, slightly tangy from the cream cheese, and perfectly balanced with sweetness from the Oreos. The protein powder adds structure and a mild nuttiness (depending on the type you use), making each bite more satisfying.
What I love most about this Cream Cheese Oreo Protein Balls Recipe is how flexible it is. You can tweak the sweetness, switch the coatings, or even add flavors like vanilla or peanut butter. It’s one of those recipes that invites creativity while staying incredibly simple.
Equipment List
Before we get into the magic, let’s gather everything you need. One of the reasons I adore this recipe is that it requires very basic kitchen tools.
- Mixing bowl (medium to large)
- Food processor or zip-top bag + rolling pin (for crushing Oreos)
- Spatula or wooden spoon
- Measuring cups and spoons
- Baking tray or plate
- Parchment paper
- Small cookie scoop (optional but helpful)
- Refrigerator space
Recipe Card Info
- Prep Time: 20 minutes
- Cook Time: 0 minutes
- Chill Time: 30 minutes
- Total Time: 50 minutes
- Serves: 18–20 protein balls
- Cuisine: American-inspired
- Course: Dessert / Snack
- Calories: ~120 calories per ball
Ingredients
Here’s everything you’ll need to bring these creamy, chocolatey bites to life:
- 18 Oreo cookies (regular, not double stuffed)
- 8 oz (226g) cream cheese, softened
- 1/2 cup chocolate protein powder (whey or plant-based)
- 1 teaspoon vanilla extract
- 1–2 tablespoons milk (as needed for texture)
- 1 cup melted dark or milk chocolate (for coating)
Optional toppings:
- Crushed Oreos
- Cocoa powder
- White chocolate drizzle
- Sprinkles
Instructions
Step 1: Crush the Oreos
Place the Oreo cookies in a food processor and pulse until you get fine crumbs. If you don’t have a processor, place them in a zip-top bag and crush them using a rolling pin. You want a sand-like texture with no big chunks.
Step 2: Mix the Base
In a mixing bowl, combine the Oreo crumbs with softened cream cheese. Use a spatula to mix until everything is fully combined and smooth.
Step 3: Add Protein Powder
Add the chocolate protein powder and vanilla extract to the mixture. Stir until fully incorporated. If the mixture feels too thick or crumbly, add a tablespoon of milk at a time until it becomes soft and moldable.
Step 4: Shape into Balls
Scoop out small portions (about 1 tablespoon each) and roll them into balls using your hands. Place them on a parchment-lined tray.
Step 5: Chill
Refrigerate the balls for at least 30 minutes. This helps them firm up and makes coating easier.
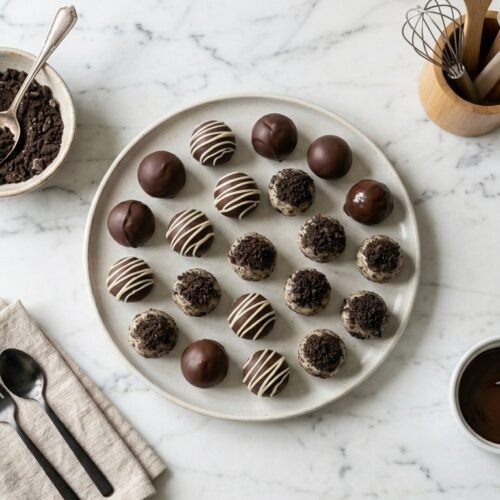
Step 6: Coat in Chocolate
Dip each chilled ball into melted chocolate, making sure it’s fully covered. Place it back on the tray and add any toppings you like.
Step 7: Final Set
Let the chocolate coating set completely. You can refrigerate them again for faster results.
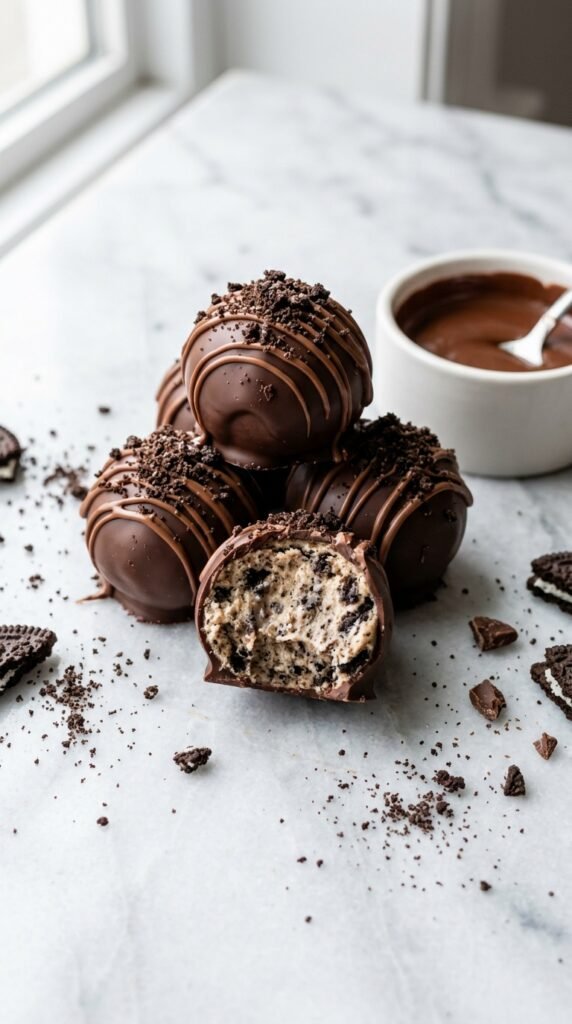
Flavor & Texture: What Makes Them Special
Every bite of these protein balls is a mix of creamy, crunchy, and rich chocolate goodness. The Oreo crumbs bring that familiar cocoa flavor, while the cream cheese adds a smooth, slightly tangy contrast. The protein powder subtly changes the texture—it’s a bit denser than a traditional Oreo truffle, but in the best way possible.
I personally love using a high-quality chocolate coating because it adds that satisfying snap when you bite into it. And if you drizzle white chocolate on top? It instantly feels bakery-worthy.
Why You’ll Love This Recipe
There are so many reasons this Cream Cheese Oreo Protein Balls Recipe has become a staple in my kitchen:
- No baking required
- Quick and easy to prepare
- Customizable flavors
- Perfect for meal prep
- A sweet treat with a protein boost
It’s the kind of recipe you can make once and keep coming back to, especially when you want something effortless but impressive.
Tips for Perfect Protein Balls
- Use softened cream cheese: This makes mixing much easier and ensures a smooth texture.
- Don’t skip chilling: It helps the balls hold their shape and makes coating cleaner.
- Adjust sweetness: If your protein powder is sweet, you may not need extra sugar.
- Work quickly with chocolate: Melted chocolate can thicken as it cools, so dip efficiently.
Variations to Try
Peanut Butter Twist
Add 2 tablespoons of peanut butter to the mixture for a nutty, rich flavor.
White Chocolate Version
Skip the dark chocolate coating and use white chocolate for a sweeter, creamier finish.
Coconut Delight
Roll the balls in shredded coconut instead of chocolate for a tropical vibe.
Mocha Flavor
Add a teaspoon of instant coffee powder to enhance the chocolate flavor.
Storage Tips
Store your protein balls in an airtight container in the refrigerator for up to 5 days. You can also freeze them for up to 2 months—just let them thaw slightly before eating.
Serving Ideas
- As a quick afternoon snack
- Post-workout energy boost
- Dessert platter addition
- Party treats
I love serving them slightly chilled with a cup of coffee—it feels like a little moment of indulgence in a busy day.
Common Mistakes to Avoid
- Using cold cream cheese (it won’t mix well)
- Adding too much liquid (can make the mixture sticky)
- Skipping chill time
- Overheating chocolate
FAQs
Can I make this recipe without protein powder?
Yes, you can skip it, but the texture will be softer and more like traditional Oreo truffles.
What type of protein powder works best?
Chocolate whey or plant-based protein works great. Choose one with a flavor you enjoy.
Can I make these dairy-free?
Yes, use dairy-free cream cheese and plant-based protein powder.
Do I have to coat them in chocolate?
Not at all. You can roll them in cocoa powder or crushed cookies instead.
How long do they last?
They stay fresh in the fridge for about 5 days.
Final Thoughts
This Cream Cheese Oreo Protein Balls Recipe is proof that simple ingredients can create something truly special. It’s rich, satisfying, and incredibly easy to make. Whether you’re treating yourself or sharing with friends, these little bites are guaranteed to bring smiles.
And from my kitchen to yours—I hope you enjoy every creamy, chocolatey bite as much as I do.
Read More:
Cream Cheese Oreo Protein Balls Recipe
Equipment
- Mixing bowl (medium to large)
- Food processor or zip-top bag + rolling pin (for crushing Oreos)
- Spatula or wooden spoon
- Measuring cups and spoons
- Baking tray or plate
- Parchment paper
- Small cookie scoop (optional but helpful)
- Refrigerator space
Ingredients
- 18 Oreo cookies regular, not double stuffed
- 8 oz 226g cream cheese, softened
- 1/2 cup chocolate protein powder whey or plant-based
- 1 teaspoon vanilla extract
- 1 –2 tablespoons milk as needed for texture
- 1 cup melted dark or milk chocolate for coating
- Optional toppings:
- Crushed Oreos
- Cocoa powder
- White chocolate drizzle
- Sprinkles
Instructions
Step 1: Crush the Oreos
- Place the Oreo cookies in a food processor and pulse until you get fine crumbs. If you don’t have a processor, place them in a zip-top bag and crush them using a rolling pin. You want a sand-like texture with no big chunks.
Step 2: Mix the Base
- In a mixing bowl, combine the Oreo crumbs with softened cream cheese. Use a spatula to mix until everything is fully combined and smooth.
Step 3: Add Protein Powder
- Add the chocolate protein powder and vanilla extract to the mixture. Stir until fully incorporated. If the mixture feels too thick or crumbly, add a tablespoon of milk at a time until it becomes soft and moldable.
Step 4: Shape into Balls
- Scoop out small portions (about 1 tablespoon each) and roll them into balls using your hands. Place them on a parchment-lined tray.
Step 5: Chill
- Refrigerate the balls for at least 30 minutes. This helps them firm up and makes coating easier.
Step 6: Coat in Chocolate
- Dip each chilled ball into melted chocolate, making sure it’s fully covered. Place it back on the tray and add any toppings you like.
Step 7: Final Set
- Let the chocolate coating set completely. You can refrigerate them again for faster results.

Hi, I’m Isabella Bennett a home cook who believes every meal tells a story. I share simple, delicious recipes made with love, one plate at a time.