Intro
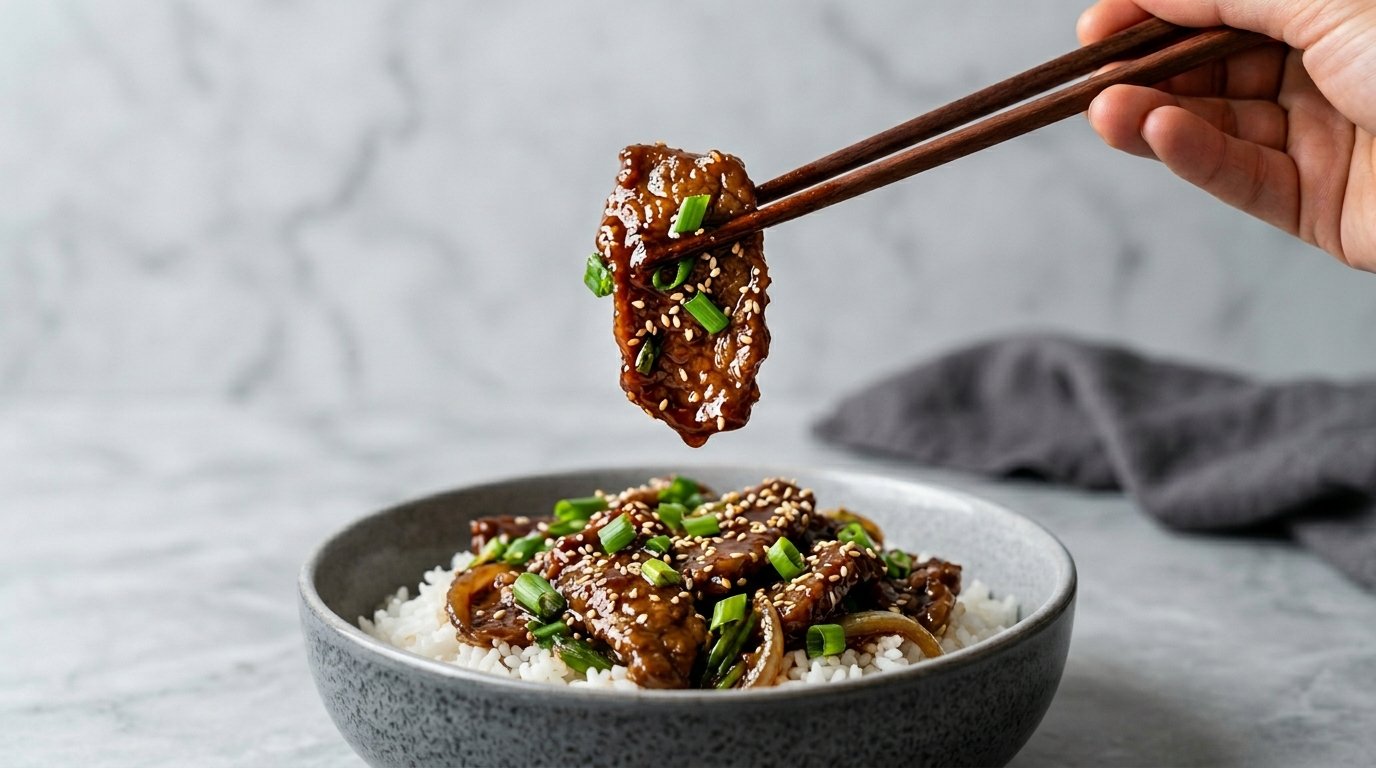
There are some dishes that instantly make you feel like you’re treating yourself, even if you’re just cooking at home on a regular weeknight. For me, this Mongolian Beef Recipe is one of those dishes. It’s rich, glossy, slightly sweet, a little savory, and packed with bold flavors that feel like they came straight out of your favorite takeout spot.
I still remember the first time I tried recreating it in my own kitchen. I was nervous because I thought it would be complicated, but once I started cooking—hearing the sizzle of thinly sliced beef hitting the pan, smelling the garlic and soy sauce blending together—I realized it’s actually surprisingly simple.
This recipe uses tender slices of beef, soy sauce, brown sugar, garlic, ginger, and green onions to create that signature sticky, flavorful sauce. The result? A dish that tastes indulgent but is easy enough to make anytime you’re craving something special.
Let me walk you through everything you need to know to make this at home, step by step, just like I do in my own kitchen.
What is Mongolian Beef Recipe?
Despite the name, Mongolian Beef isn’t actually a traditional Mongolian dish. It’s a popular Chinese-American creation, often found in restaurants and takeout menus.
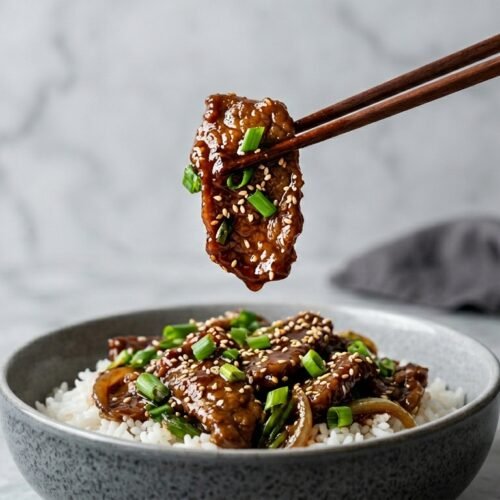
What makes this dish so loved is its balance of flavors. You get the deep savory taste from soy sauce, a gentle sweetness from brown sugar, a slight warmth from fresh ginger, and that irresistible aroma from garlic. When these ingredients come together with tender beef slices, the result is a glossy, caramelized coating that clings to every bite.
The beef is usually coated lightly in cornstarch before cooking. This step is key—it gives the meat a silky texture and helps the sauce thicken beautifully. Add in fresh green onions at the end, and you get a pop of freshness that cuts through the richness perfectly.
It’s the kind of dish that feels restaurant-quality but is completely achievable at home, even if you’re not an experienced cook.
Equipment List
Before we start cooking, let’s gather everything you’ll need:
- Large skillet or wok
- Sharp knife for slicing beef
- Cutting board
- Mixing bowls
- Measuring cups and spoons
- Tongs or spatula
- Small saucepan (optional, for sauce)
Having everything ready makes the cooking process smooth and stress-free.
Recipe Card Info
- Prep Time: 15 minutes
- Cook Time: 15 minutes
- Total Time: 30 minutes
- Servings: 4 servings
- Cuisine: Chinese-American
- Course: Main Course
- Calories: 420 kcal per serving
Ingredients
Here’s everything you’ll need for this flavorful dish:
- 1 lb flank steak, thinly sliced against the grain
- 1/4 cup cornstarch
- 2 tablespoons vegetable oil (for frying)
- 3 cloves garlic, minced
- 1 teaspoon fresh ginger, grated
- 1/2 cup low-sodium soy sauce
- 1/2 cup water
- 1/2 cup brown sugar
- 1/2 teaspoon red pepper flakes (optional)
- 4 green onions, sliced into 1-inch pieces
- 1 tablespoon sesame oil (optional, for flavor)
Instructions (Step-by-Step)
Step 1: Prepare the Beef
Slice the flank steak into thin strips against the grain. This keeps the meat tender and easy to chew.
Place the sliced beef in a bowl and toss it with cornstarch until each piece is lightly coated. Let it sit for about 10 minutes.
Step 2: Make the Sauce
In a bowl, mix soy sauce, water, and brown sugar. Stir until the sugar dissolves completely. Set aside.
Step 3: Cook the Beef
Heat vegetable oil in a large skillet or wok over medium-high heat. Add the beef in batches, making sure not to overcrowd the pan.
Cook each batch for about 2–3 minutes until the edges are crispy and browned. Remove and set aside.
Step 4: Build the Flavor Base
In the same pan, add a little more oil if needed. Toss in the minced garlic and grated ginger. Cook for about 30 seconds until fragrant.
Step 5: Add the Sauce
Pour in the prepared sauce mixture. Let it simmer for a few minutes until it starts to thicken slightly.
Step 6: Combine Everything
Return the cooked beef to the pan. Toss everything together so the beef is fully coated in the sauce.
Step 7: Finish with Green Onions
Add the sliced green onions and cook for another 1–2 minutes. Drizzle sesame oil if using.
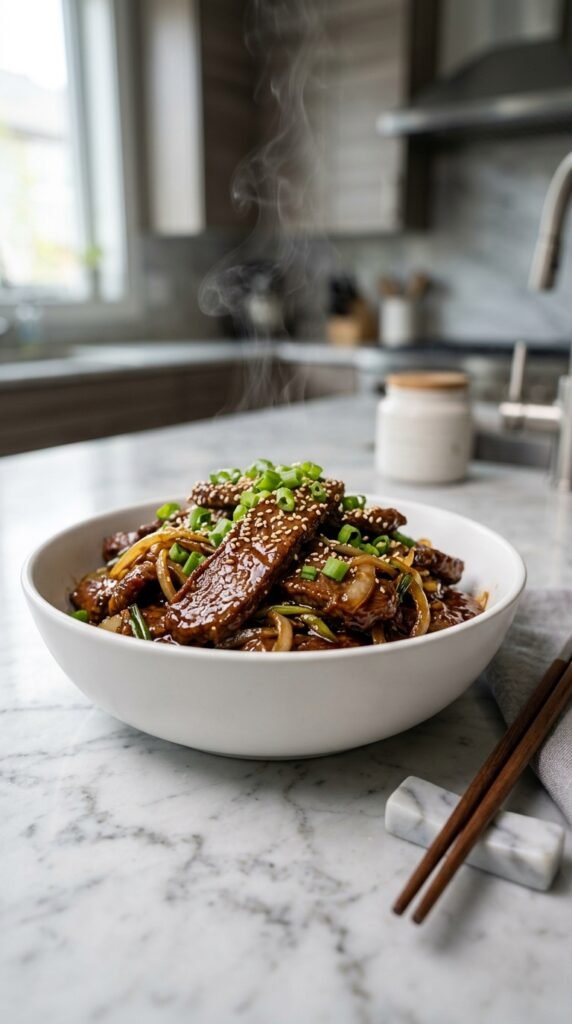
Serve hot over steamed rice
Flavor Profile: What Makes It So Addictive
One of the reasons I keep coming back to this dish is the way the flavors balance each other so perfectly. The sweetness from brown sugar isn’t overpowering—it’s just enough to soften the saltiness of the soy sauce.
Garlic and ginger bring warmth and depth, while the green onions add freshness. The beef itself becomes incredibly tender, almost melting in your mouth, thanks to the cornstarch coating and quick cooking method.
Tips for Perfect Mongolian Beef
- Slice beef thinly for tenderness
- Don’t skip the cornstarch coating
- Cook in batches to avoid steaming
- Use fresh garlic and ginger for best flavor
- Adjust sweetness by reducing sugar slightly if preferred
Variations You Can Try
- Add broccoli for a veggie boost
- Use chicken instead of beef
- Make it spicy with chili oil
- Add bell peppers for color and crunch
What to Serve with Mongolian Beef
This dish pairs beautifully with:
- Steamed white rice
- Fried rice
- Noodles
- Stir-fried vegetables
Storage and Reheating Tips
Store leftovers in an airtight container in the refrigerator for up to 3 days.
Reheat in a pan over medium heat or microwave until warm.
Common Mistakes to Avoid
- Overcrowding the pan
- Overcooking the beef
- Skipping the sauce thickening step
FAQs
Can I use a different cut of beef?
Yes, sirloin or skirt steak works well too.
Is this dish very sweet?
It has a mild sweetness, but you can adjust the sugar.
Can I make it gluten-free?
Use gluten-free soy sauce or tamari.
Can I freeze Mongolian beef?
It’s best fresh, but you can freeze it for up to 1 month.
Final Thoughts
Cooking this Mongolian Beef Recipe at home feels incredibly rewarding. It’s quick, flavorful, and perfect for both busy nights and special dinners.
Once you try it, you’ll realize you don’t need takeout to enjoy this classic dish. It’s all about simple ingredients, good technique, and a little love in the kitchen.
Read More:
- Grand Hennessy Recipe
- Homemade Cream Of Chicken Soup Recipe
- Salted Caramel Chocolate Chip Cookies Recipe
Mongolian Beef Recipe
Equipment
- Large skillet or wok
- Sharp knife for slicing beef
- Cutting board
- Mixing bowls
- Measuring cups and spoons
- Tongs or spatula
- Small saucepan (optional, for sauce)
Ingredients
- 1 lb flank steak thinly sliced against the grain
- 1/4 cup cornstarch
- 2 tablespoons vegetable oil for frying
- 3 cloves garlic minced
- 1 teaspoon fresh ginger grated
- 1/2 cup low-sodium soy sauce
- 1/2 cup water
- 1/2 cup brown sugar
- 1/2 teaspoon red pepper flakes optional
- 4 green onions sliced into 1-inch pieces
- 1 tablespoon sesame oil optional, for flavor
Instructions
Step 1: Prepare the Beef
- Slice the flank steak into thin strips against the grain. This keeps the meat tender and easy to chew.
- Place the sliced beef in a bowl and toss it with cornstarch until each piece is lightly coated. Let it sit for about 10 minutes.
Step 2: Make the Sauce
- In a bowl, mix soy sauce, water, and brown sugar. Stir until the sugar dissolves completely. Set aside.
Step 3: Cook the Beef
- Heat vegetable oil in a large skillet or wok over medium-high heat. Add the beef in batches, making sure not to overcrowd the pan.
- Cook each batch for about 2–3 minutes until the edges are crispy and browned. Remove and set aside.
Step 4: Build the Flavor Base
- In the same pan, add a little more oil if needed. Toss in the minced garlic and grated ginger. Cook for about 30 seconds until fragrant.
Step 5: Add the Sauce
- Pour in the prepared sauce mixture. Let it simmer for a few minutes until it starts to thicken slightly.
Step 6: Combine Everything
- Return the cooked beef to the pan. Toss everything together so the beef is fully coated in the sauce.
Step 7: Finish with Green Onions
- Add the sliced green onions and cook for another 1–2 minutes. Drizzle sesame oil if using.
- Serve hot over steamed rice.

Hi, I’m Isabella Bennett a home cook who believes every meal tells a story. I share simple, delicious recipes made with love, one plate at a time.